
 Did you know that you can include landed costs on your inbound shipments? In this blog, I am going to build upon the prior Inbound Shipments blog, by sharing with you NetSuite’s functionality on how to include landed costs with inbound shipments.
First steps to use Landed Costs with Inbound Shipments include:
- Ensure the Landed Cost feature is enabled by going to Setup > Company > Enabled Features > Items & Inventory to verify.
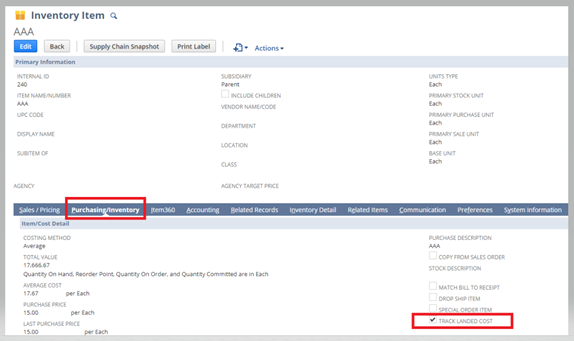
- Setup the item master record for landed:
Next, you will need to setup Cost Categories in Accounting Lists by going to Setup > Accounting > Accounting Lists, change the filter type to “Cost Category”, then click the “New” button:
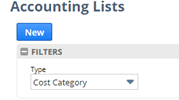
- Enter a Name for the Cost Category, like Freight or Tariffs, assign an Expense Account, and select the Cost Type = Landed.

a. It is suggested that the expense account selected here is the same expense account that would be entered on the vendor bill for the landed cost.
Once you have created an inbound shipment record, you can add landed costs associated with the shipment.
To add landed costs to the inbound shipment record, you…
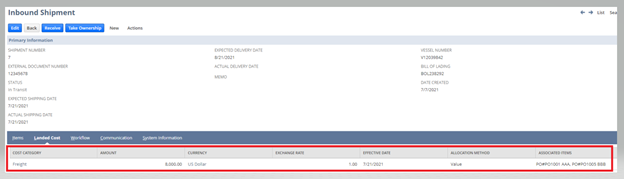
- Click “Edit” on the inbound shipment record that you want to add landed costs to and go to the Landed Costs subtab:
- Enter the cost category, like Freight
- Enter the amount of the landed costs. In this example, we have been notified of an $8,000 freight cost to get the goods to the warehouse.
- Enter the currency, if applicable.
- Enter the effective date. This usually matches the date of the vendor bill.
- Select an allocation method. The options are Quantity, Value, Weight.
- Select the associated items from the inbound shipment.
- Click “Save” on the inbound shipment record.
You will also want to make sure you enter the vendor’s freight bill in NetSuite.
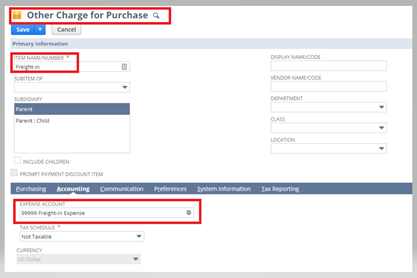
Typically, you would have created an “other charge for purchase” item type for Freight, whereby, the item master record points to the same Expense Account:
Then you would enter the vendor bill using that Freight-in Item:
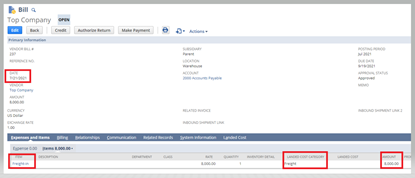
The GL impact of the vendor bill shows that the expense will be incurred on 7/21/2021 in the Freight-in Expense account. When the goods arrive at your warehouse, you would receive the inbound shipment on 7/21/2021, and upon receipt the Freight-in Expense account is credited $8,000 and the Inventory account is debited. The result is the cost of the inventory item is equal to the purchase price plus the landed cost to get the goods to the warehouse.
In addition to the landed costs associated with the inbound shipment, Concentrus has a saved search to provide visibility into the status of inbound shipments indicating what is in the warehouse versus in transit versus not processed yet. Please refer to my Short n Suite video Inbound Shipment Execution Status Saved Search to see this saved search.
If you need any NetSuite support, are in the middle of a NetSuite implementation, or are deciding if NetSuite is your next ERP system, please reach out to us at Concentrus. Our consultants are ready to support you.
About Us
Concentrus is a complete NetSuite solutions provider that guides organizations through how to use NetSuite to reach highly focused business goals and objectives. We provide NetSuite implementation, developer, integration, and customization services to ensure that you have a long-term solution that is tailored to fit your systems, people, and processes.
Read About Our Implementation Methodology
Want more NetSuite Tips and Tricks? Check out our Short & 'Suite videos
